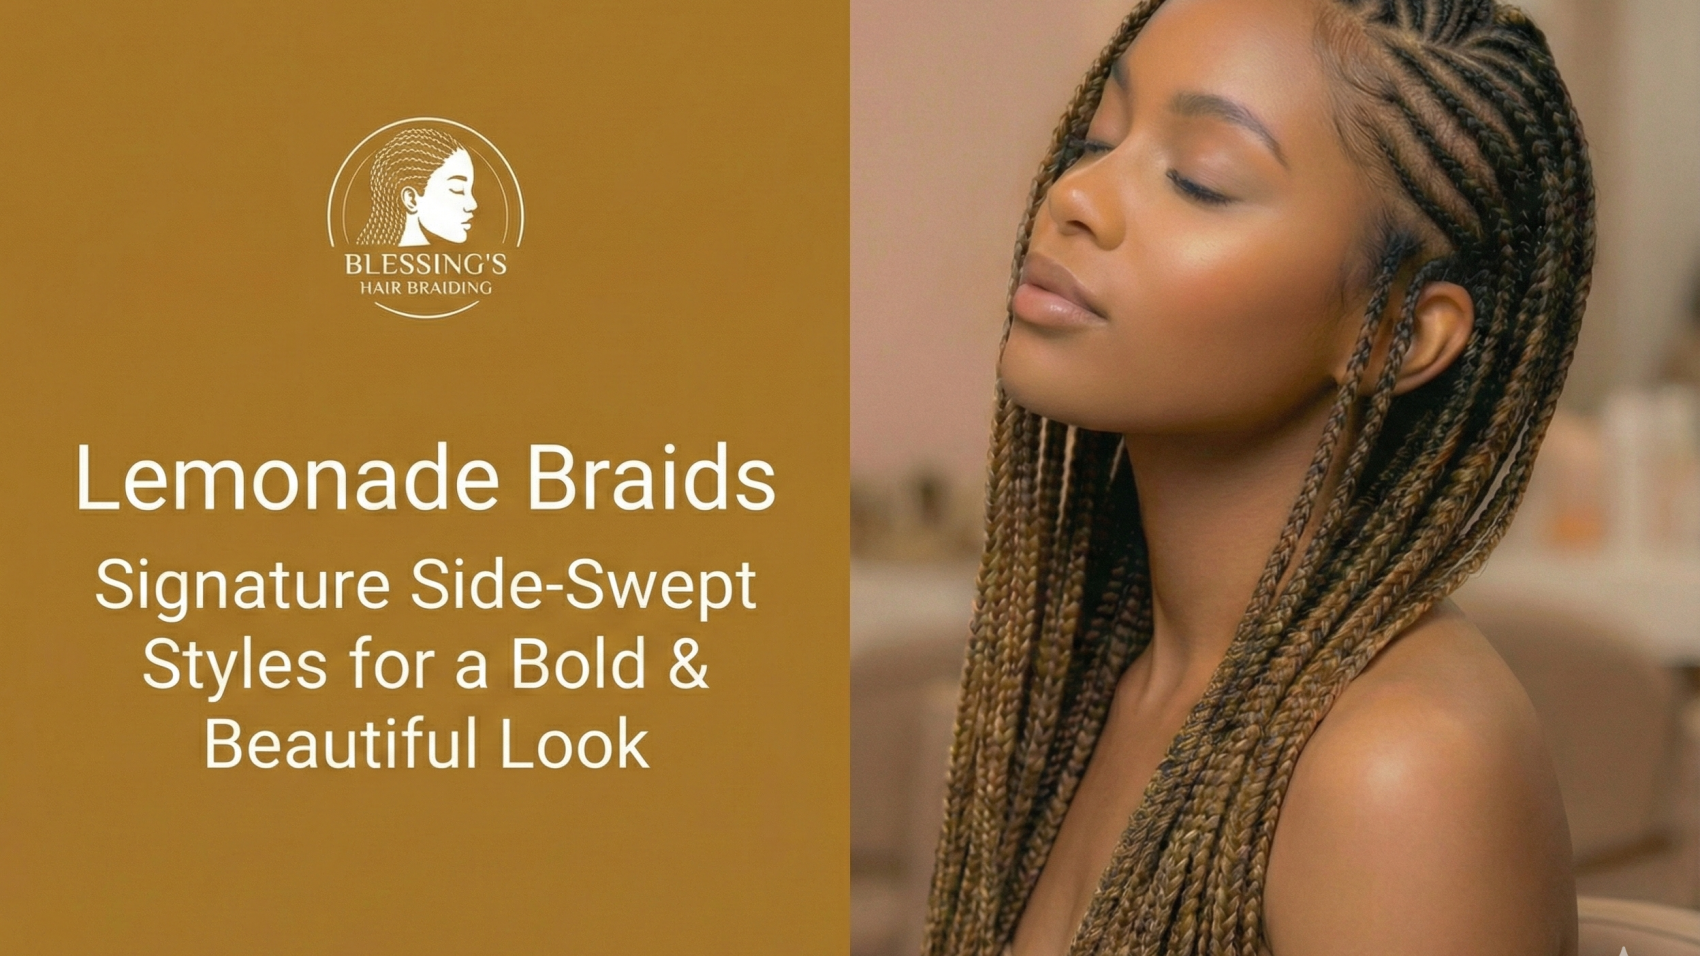
Lemonade Braids With Curls for Every Face Shape: What to Ask Your Braider
You have seen lemonade braids with curls taking over Instagram, Pinterest, and every wedding mood board imaginable. But here is the question nobody talks about: why does the same style look jaw-dropping on one woman and just slightly off on another?
The answer is not the braider. It is not the hair brand. It is face shape — and more specifically, where the curls fall relative to your features.
Unlike straight braid ends that hang predictably, curly ends add volume at a specific point. That point either works with your bone structure or fights it. The difference between a style that stops people in their tracks and one that feels like something is missing often comes down to one conversation you have — or do not have — before you sit in the chair.
This guide breaks down lemonade braids with curls for every face shape, explains the curl placement logic behind each recommendation, and gives you the exact words to say to your braider. Whether you are booking a salon or getting re-inspired after seeing your favorite influencer rock the look, consider this your full consultation. Ready for a statement-making style? Call 301-613-6650 to book your lemonade braids in District Heights today.
What Are Lemonade Braids With Curls?
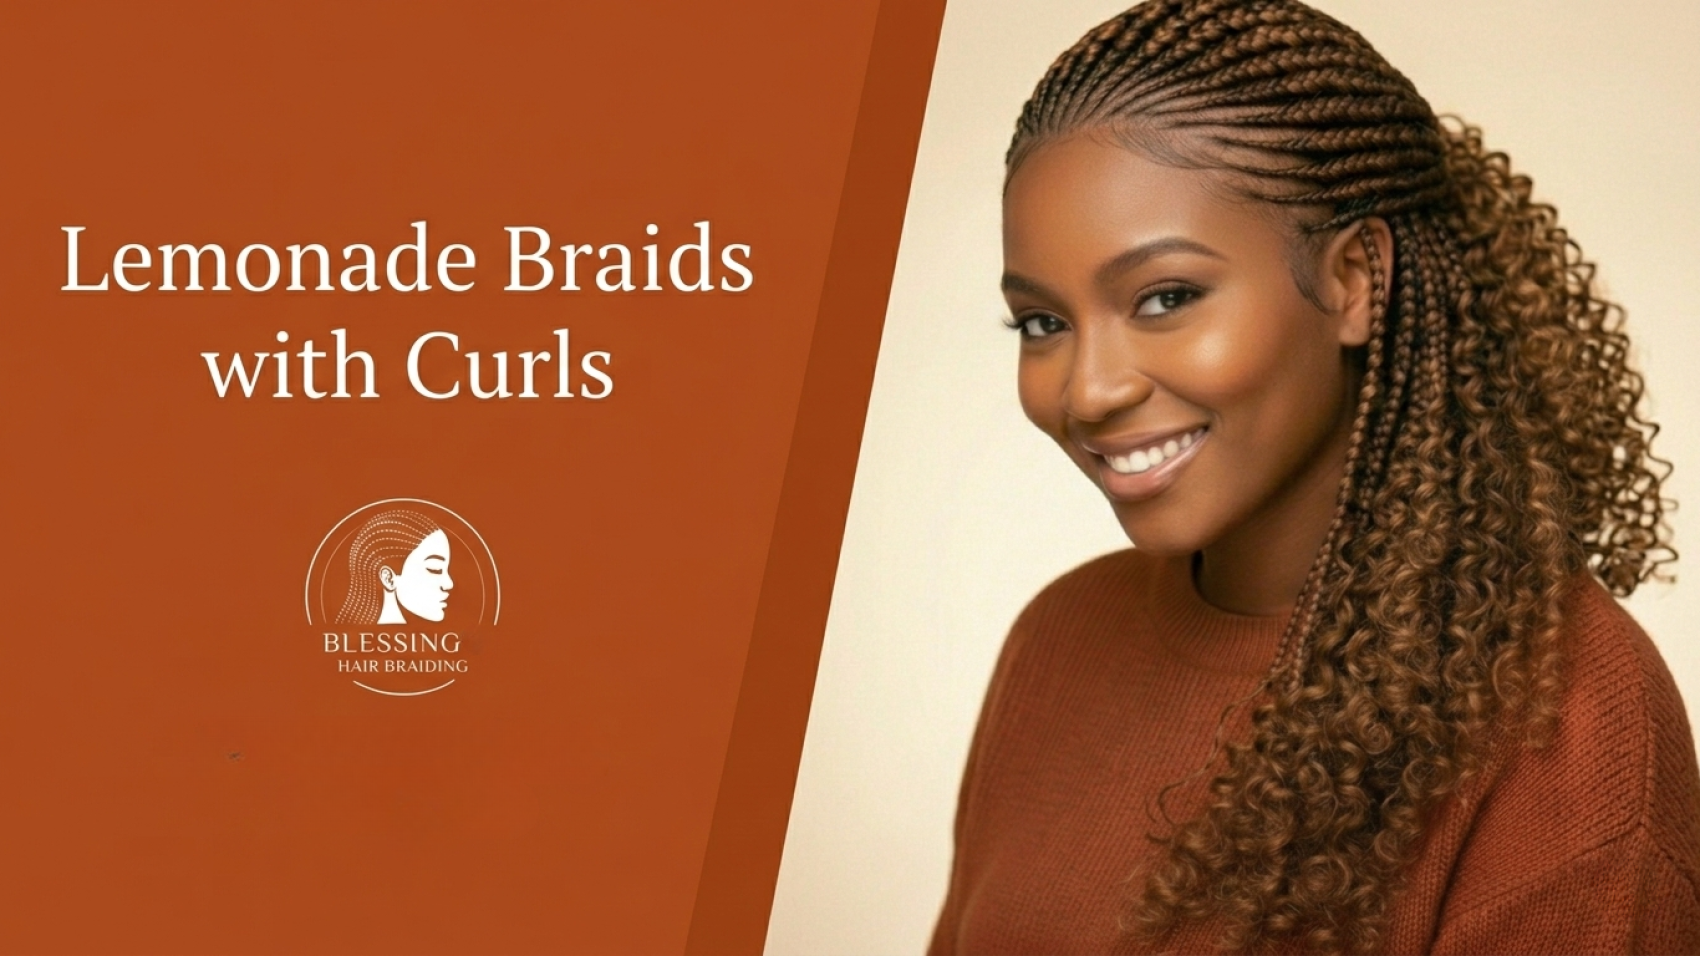
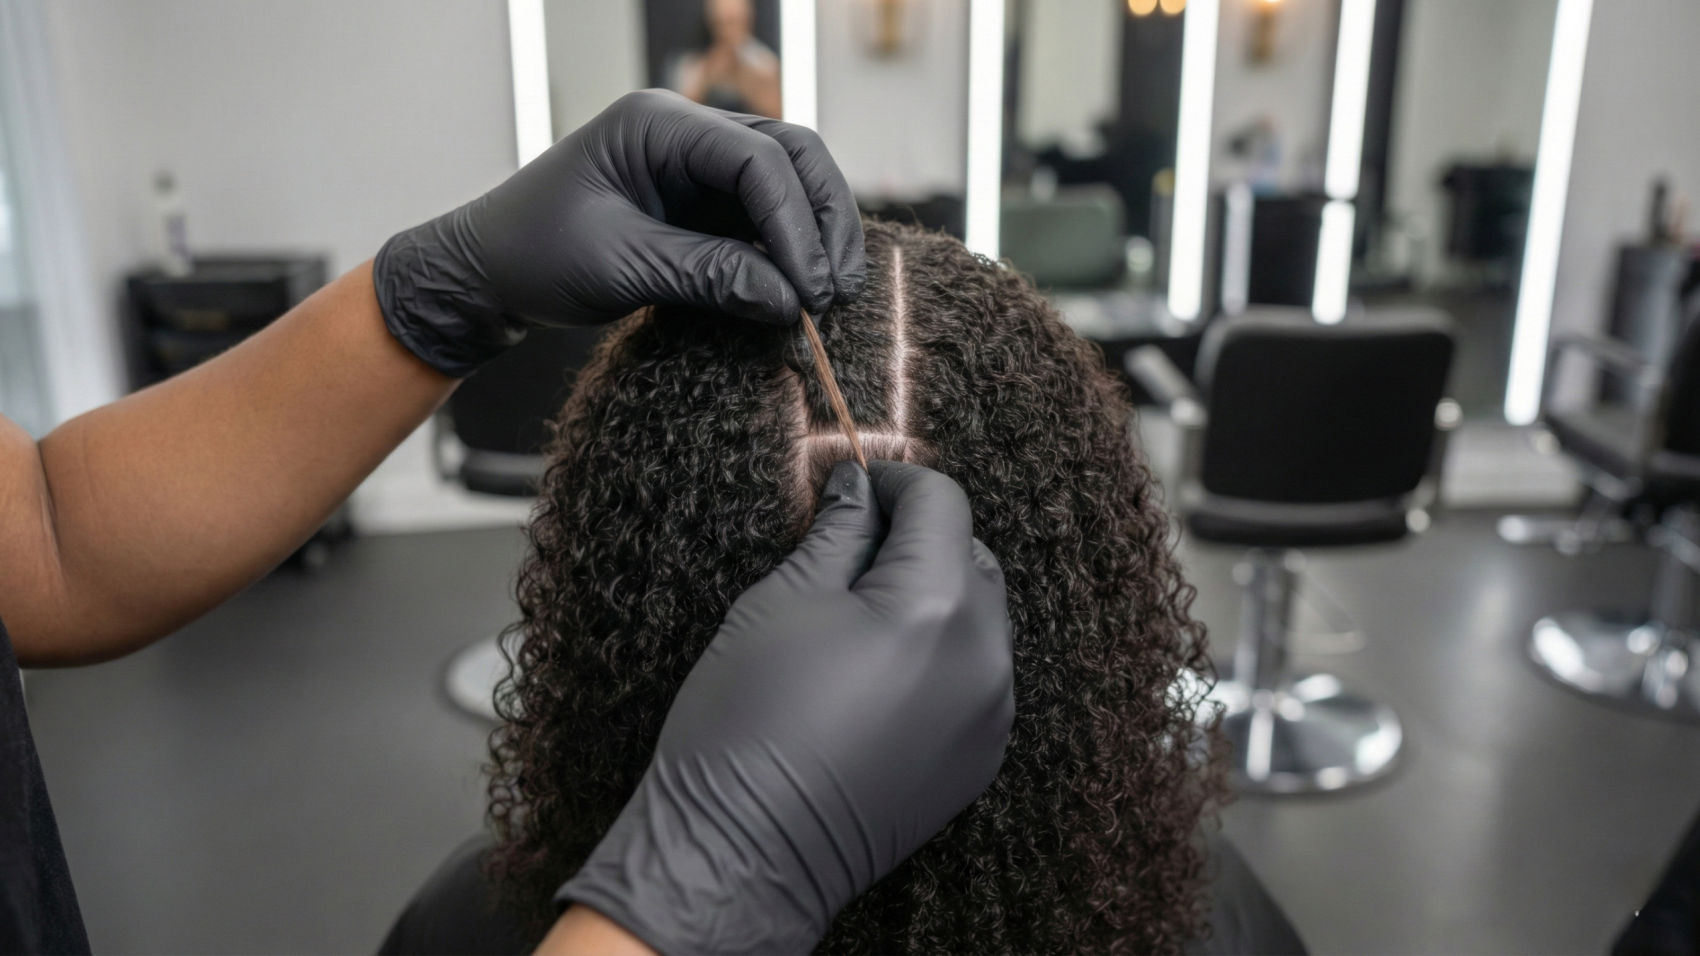
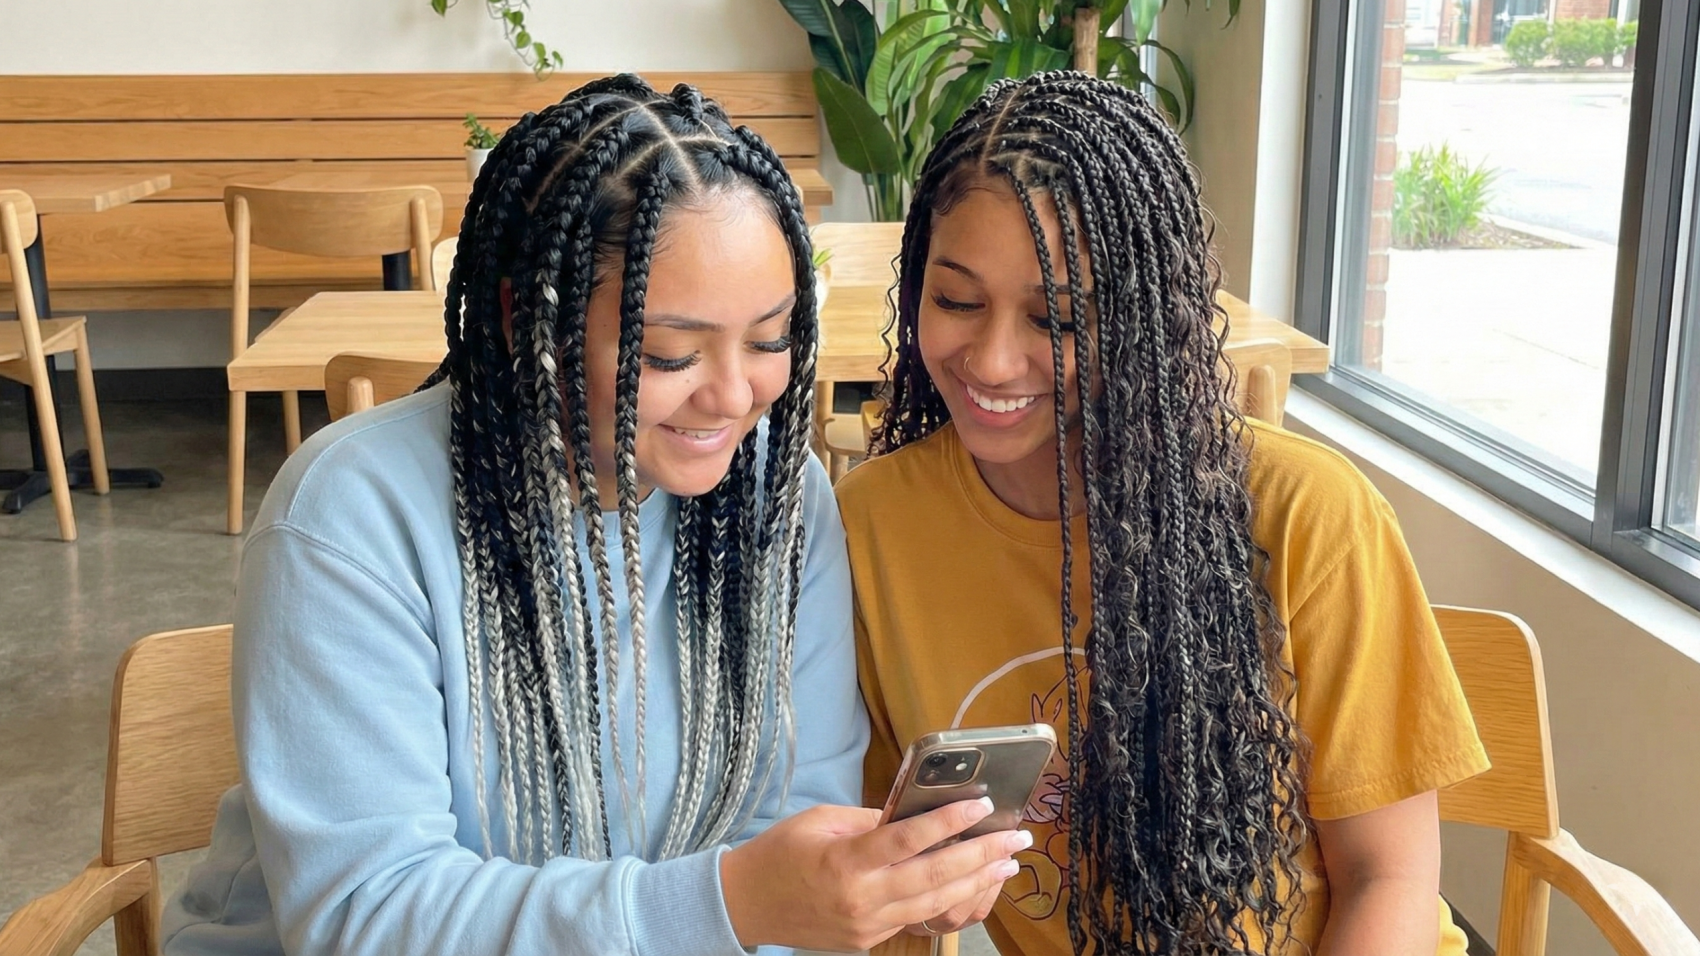
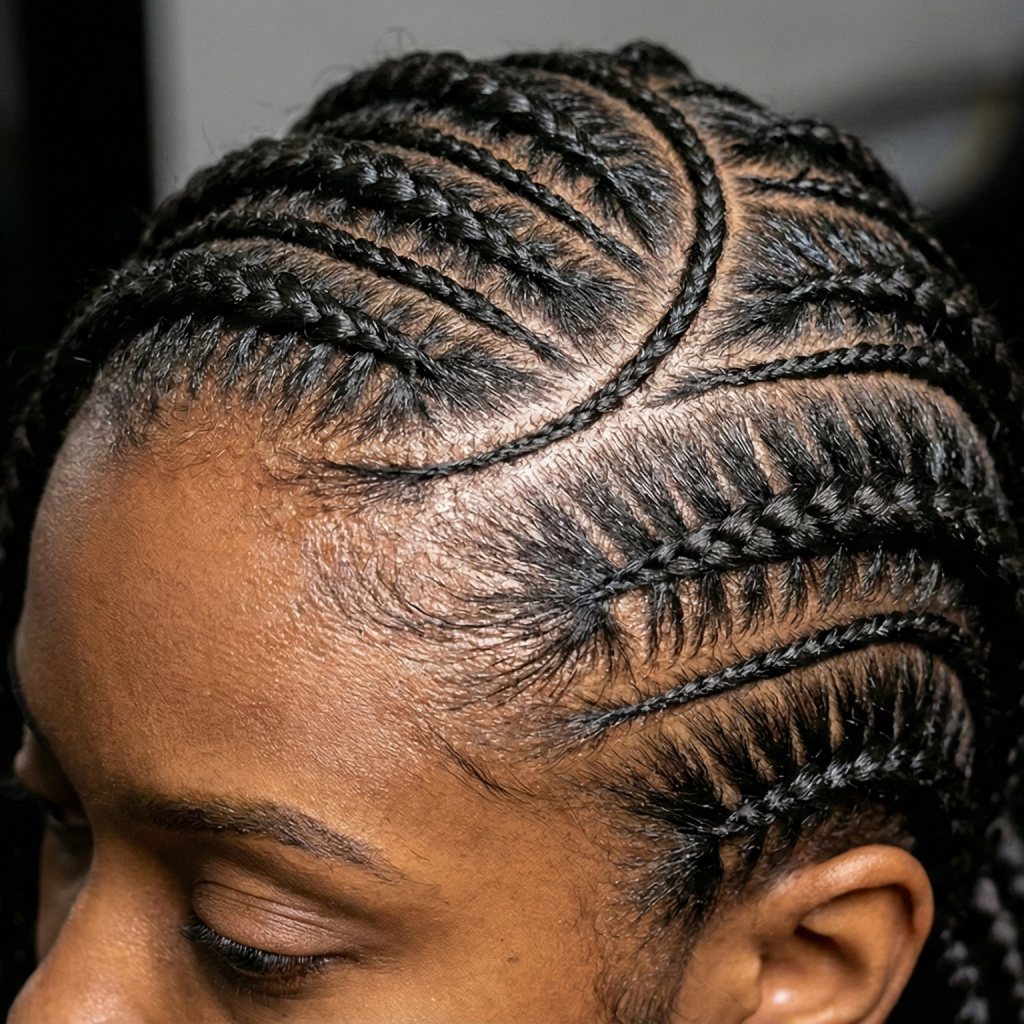
Lemonade braids are side-swept cornrows that lie flat against the scalp, traditionally braided from the front hairline to the back or nape. Because of the detailed parting and side-swept profile, the installation time typically takes 4 to 6 hours.. The name became a cultural moment when Beyonce debuted the style in her 2016 Lemonade visual album — and the look has evolved significantly since then.
Lemonade braids with curls take that foundation and add texture at the ends, either through curly braiding hair such as Bohemian or water wave bundles, crochet curls, or leaving out your natural hair to curl. The curly variation is also called goddess lemonade braids or bohemian lemonade braids depending on the curl pattern and installation technique. Because this is a highly customized protective style, your estimated investment typically ranges from $100 to $250, based on the length and the specific curly ends you choose.
How Curly Ends Change the Style?
Here is what changes everything about this version: straight ends fall in a controlled, predictable line. Curly ends bloom outward. That blooming is volume. urly volume placed near your chin widens. Styling these braids to reach your chest elongates. Finally, letting the textured ends rest at your collarbone balances. Understanding this principle is the foundation of choosing the right lemonade braids with curls for your face shape.
Why Face Shape Matters More With Curly Ends
Most face shape advice for braids was written for straight-end styles. With straight ends, the braids simply fall and hang. With curly ends, you introduce a volume zone — a concentrated area of fullness that your eye is drawn to.
Think of it like a painter adding texture to a portrait. Every curl placement is a design decision. The concept braiders use (though they may not always name it) is the curl drop point: the vertical position on your body where the curls begin to open up and create maximum volume.
Jaw-length drop points: adds width directly at the widest perception point of the face. Collarbone-length curly ends: creates a natural frame below the face, balancing most structures. Waist-length goddess styles: draws the eye downward, elongating perceived face and neck length.
“When clients come in for lemonade braids with curls, the number one mistake is not discussing where the curl begins. That endpoint changes the entire face frame.”
— Licensed Professional Braider
This is why two women can sit in the same chair, ask for the same style, and leave with completely different results in terms of how flattering the look is. The braider who understands your face shape will adjust curl length and volume automatically. The checklist at the end of this guide helps you communicate this even if your braider does not bring it up first.
How to Identify Your Face Shape in 3 Steps
Grab a flexible tape measure or a soft string and a mirror. You only need four measurements.
- Measure your forehead: From the peak of one eyebrow arch to the other.
- Measure your cheekbones: Across the widest point of your face, just below your outer eye corners.
- Measure your jawline: From your chin to just below your ear, multiply by two. 4. Measure your face length: From the center of your hairline to the tip of your chin. Now compare:
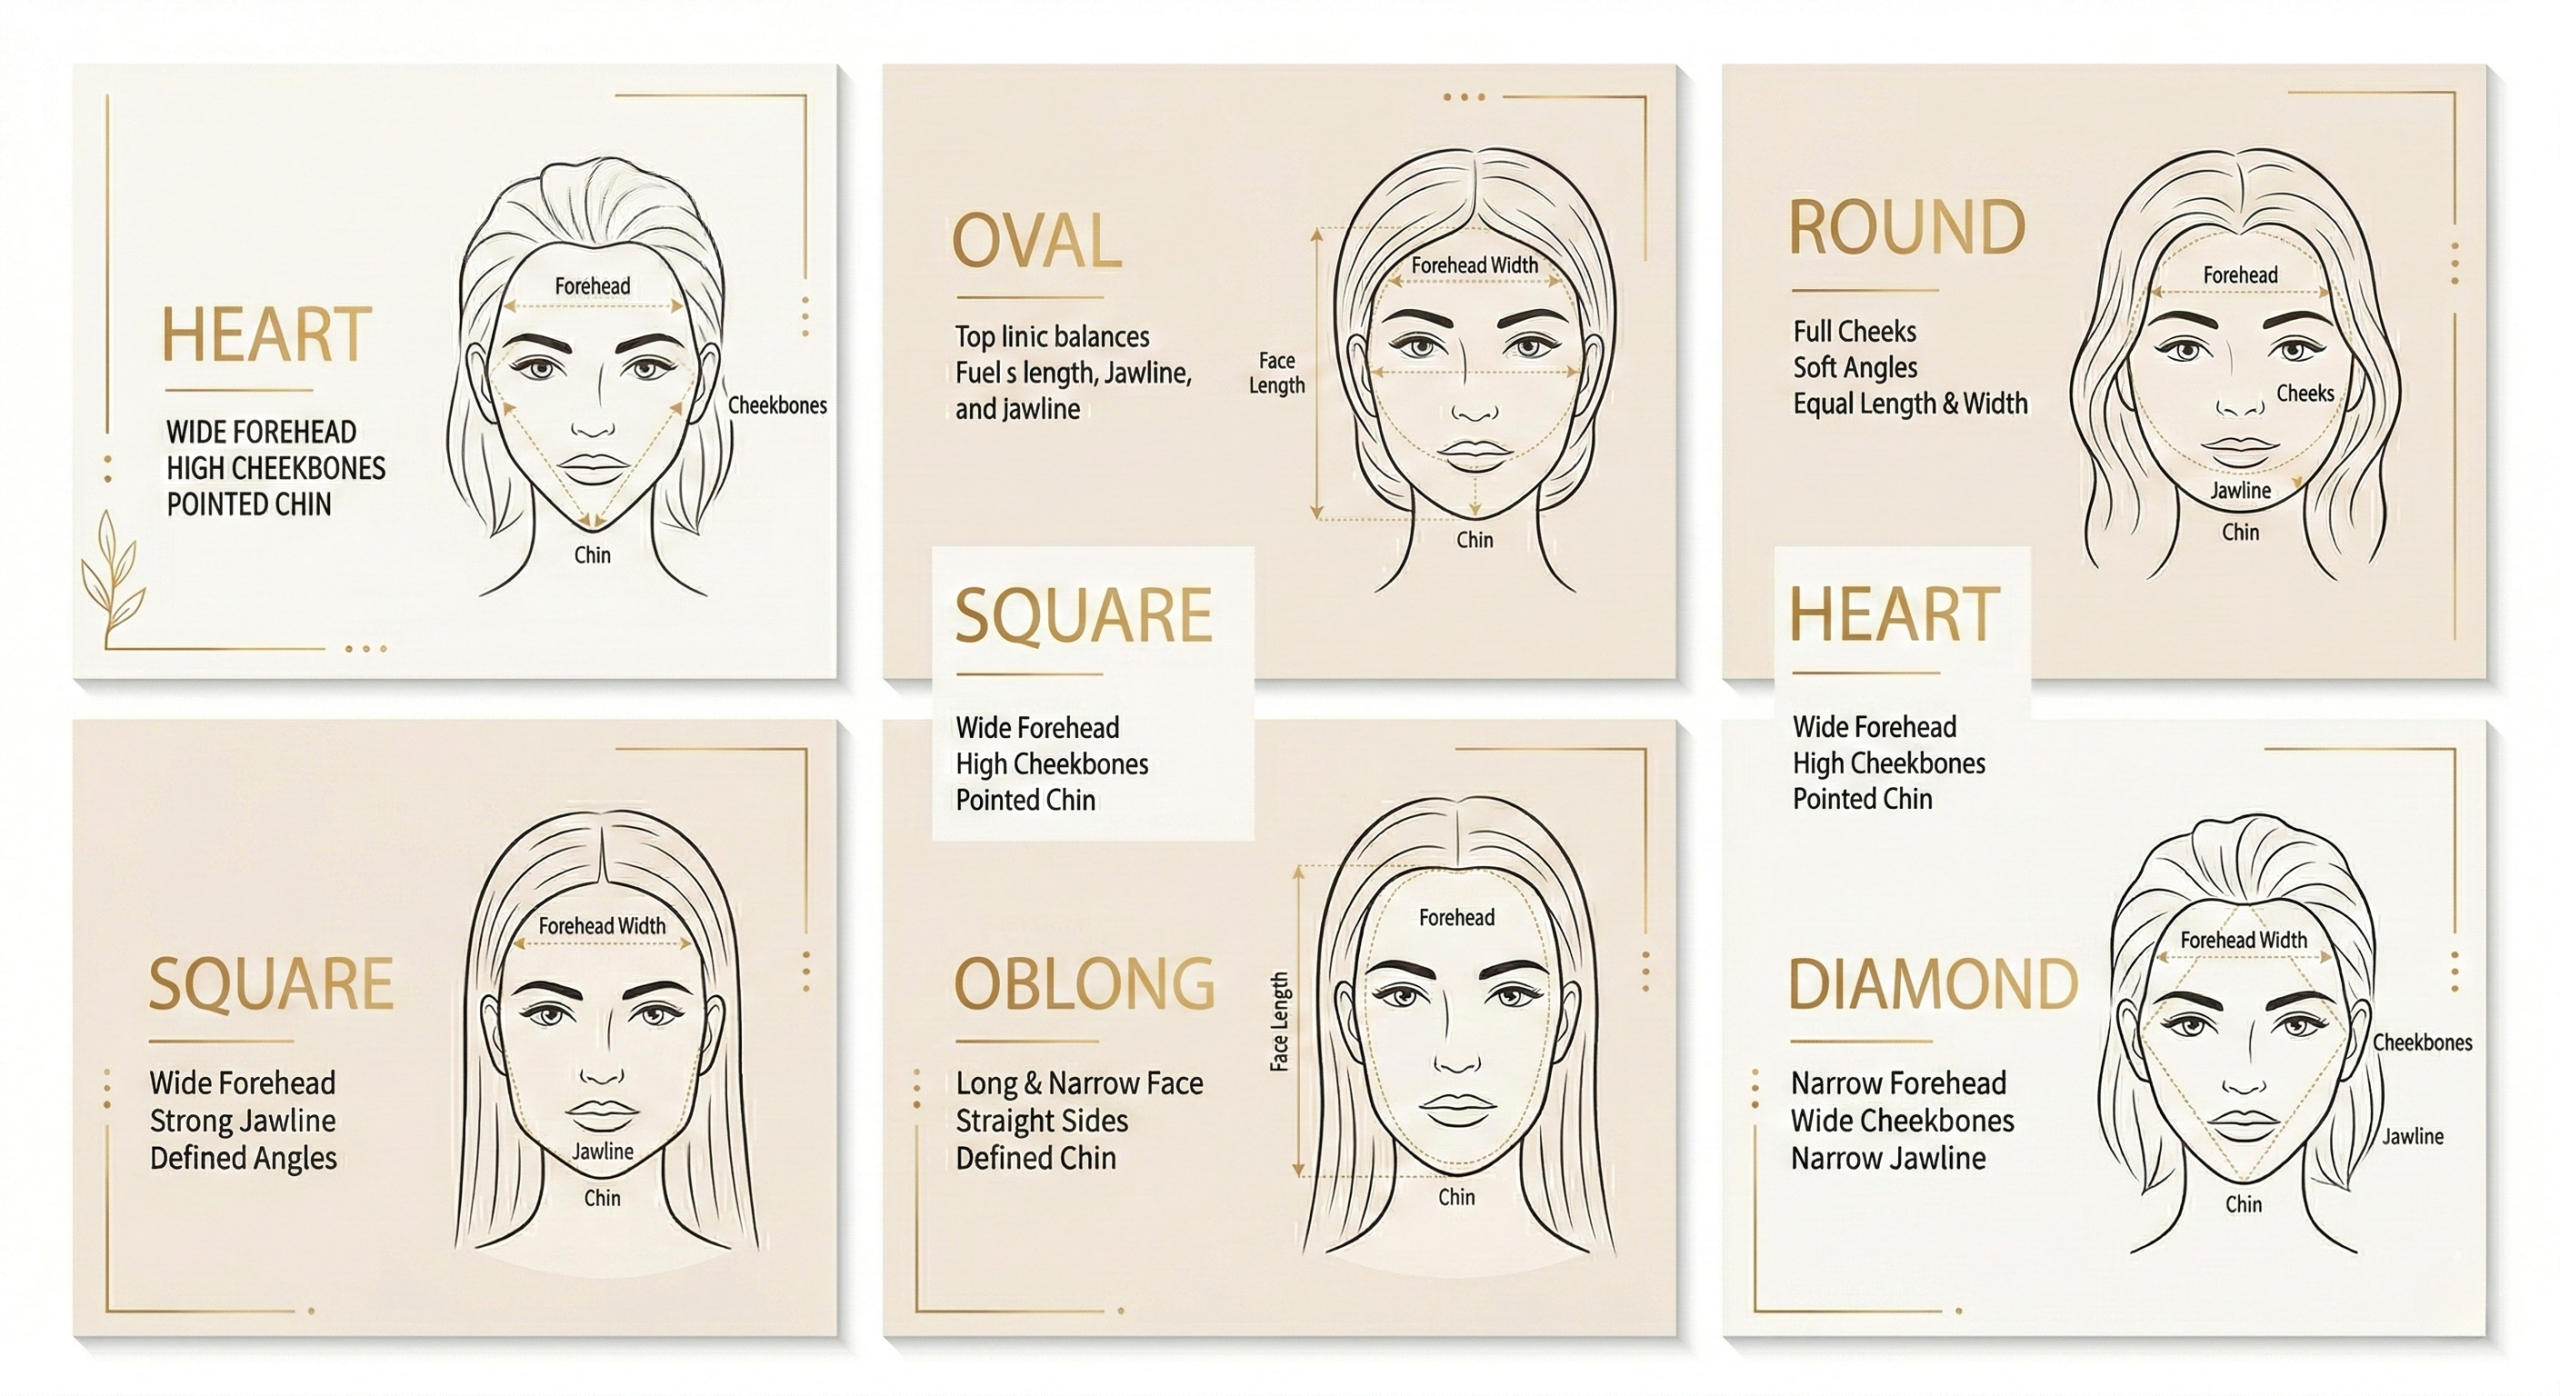
- Oval: Face length is notably longer than width. Forehead slightly wider than jaw. Cheekbones are the widest point.
- Round: Face length and width are nearly equal. Soft jaw, full cheeks, no sharp angles. • Square: Forehead, cheekbones, and jawline are roughly equal in width. Jaw is angular. • Heart: Forehead is widest measurement. Jaw tapers to a narrow or pointed chin. • Oblong/Long: Face length is significantly greater than width. Forehead, cheekbones, and jaw are similar in width.
• Diamond: Cheekbones are the widest point. Both forehead and jawline are narrower.
Lemonade Braids With Curls for Every Face Shape
Oval Face — The Most Versatile Canvas
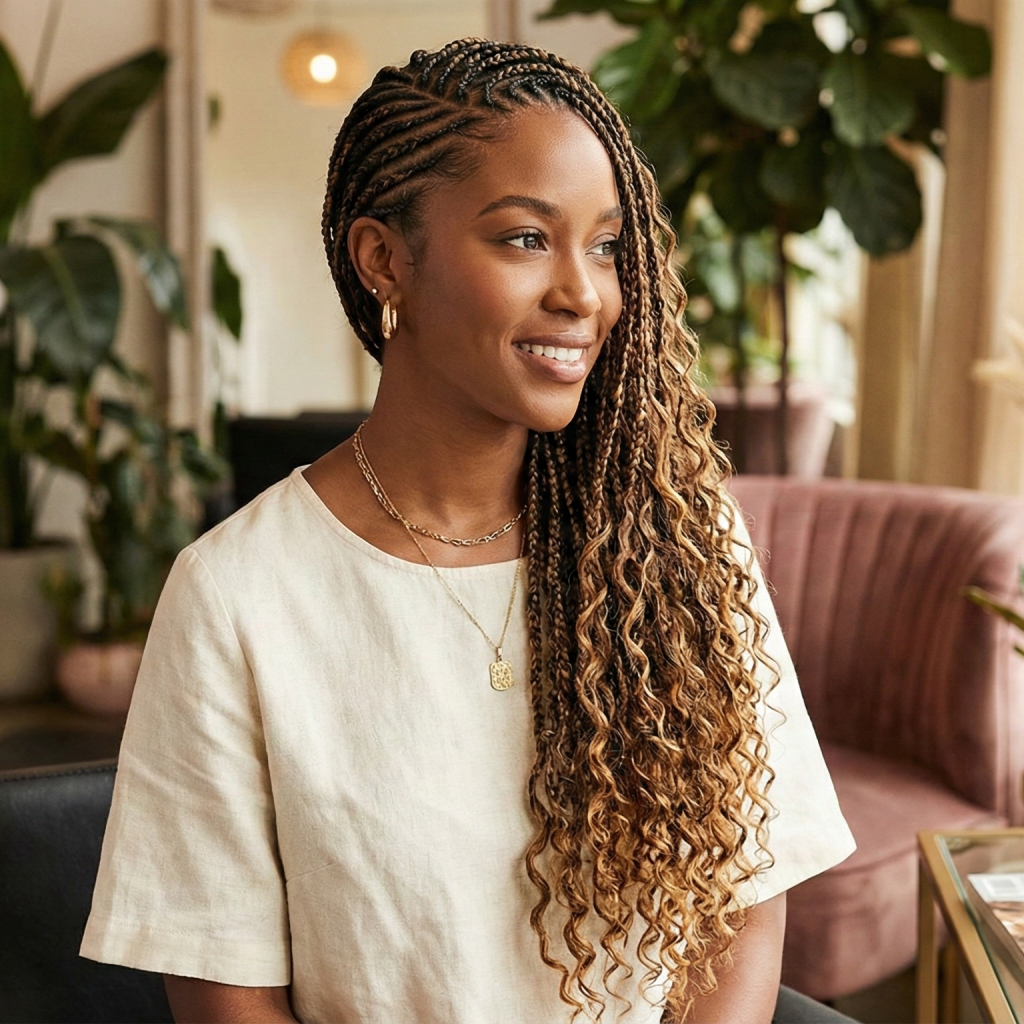
If you have an oval face, consider yourself the lucky one. Oval is the most versatile face shape for lemonade braids with curls because your proportions are naturally balanced. Almost any variation will work — but almost is the key word.
- Best curl style: Medium-length ringlets or loose waves. Not too tight (avoids adding too much width) and not too stretched (avoids adding too much length).
- Ideal braid sweep: Deep side part with curls landing at mid-chest. Classic, timeless, and endlessly flattering.
- Braid size: Medium to thin. Jumbo braids on an oval face can shift proportions slightly — not a disaster, but medium braids are cleaner.
Tell your braider: I have an oval face and I want a classic deep side sweep with medium curly ends hitting at about chest length.
Avoid: Extremely voluminous curls that end at the jaw. This is the one configuration that can visually shorten an oval face and add unwanted roundness.
Round Face — Elongate and Define
The goal for a round face is always vertical. You want to create the illusion of length and reduce the perception of width. Lemonade braids with curls can do this beautifully — or completely undermine it depending on the choices.
- Best curl style: Stretched, loose curls or elongated waves. Tight ringlets are your biggest enemy here because they compress and widen at cheek level, which is exactly where you do not want more volume.
- Ideal braid sweep: Dramatic deep side part. The asymmetry itself creates a diagonal line across the face which elongates. Pair this with long curls hitting at the waist or below.
- Braid size: Thin to medium only. Jumbo lemonade braids add horizontal mass to the face — every millimeter of extra width counts on a round face.
Tell your braider: I have a round face. I need a dramatic deep side part, thin braids, and long loose wavy ends that hit at the waist, not the chin. Please avoid tight ringlets near my face.
Avoid: Curls that end at chin or jaw length. This is the most common and most damaging mistake for round faces. Chin-length curls park maximum volume right at the widest point and make the face read as significantly rounder.
Square Face — Soften the Jawline
A square face has gorgeous structure and strong bone definition. The goal with lemonade braids with curls is not to fight that — it is to introduce softness around the jaw while keeping the drama of the style intact.
- Best curl style: Soft, loose waves or bohemian curls. The unstructured, flowing quality of bohemian curls naturally softens angular jaw lines without looking underdone.
- Ideal braid sweep: Medium side part — not too extreme. A dramatic deep sweep on a square face can actually pull attention to one angular corner of the jaw. Keep it elegant and diagonal.
- Face-framing secret: Ask your braider for a few face-framing curly pieces near the temples. These softer, looser pieces that are not fully braided down create a wispy frame that rounds the face perception beautifully.
Tell your braider: I have a square jawline. I want soft, loose bohemian waves and a medium side part. Can you add a few face-framing curly pieces near my temples to soften the angles?
Avoid: Blunt braid ends that cut straight across at the jawline. If any straight-end pieces fall right at jaw height, it draws a horizontal line that emphasizes the squareness. Curls past the jaw always work better.
Heart Face — Balance a Wider Forehead
A heart-shaped face has a wider forehead and a narrower chin. The visual goal is to add volume and width at the lower half of the face to balance the proportions. Lemonade braids with curls are actually one of the most flattering styles for this face shape when done correctly.
- Best curl style: Fuller, more voluminous curls that end near the collarbone. The width those curls create at shoulder and collarbone level visually widens the lower face and creates the balance you are after.
- Ideal braid sweep: Softer side part rather than extreme. A very dramatic deep sweep on a heart face can shift all the visual weight to one upper side of the forehead, which is already the widest point.
- Curl volume: This is one of the few face shapes where bigger, fuller curls are your friend. Do not be afraid to ask for maximum volume on the ends.
Tell your braider: I have a heart-shaped face. I want fuller, voluminous curls ending around my collarbone to balance my forehead. Please keep the side part medium, not too dramatic, and maximize the curl volume at the ends.
Avoid: Very thin, tight curls at waist length. This removes all the volume from the lower half of your face and can make the forehead look even wider by comparison.
Oblong/Long Face — Add Width and Volume
An oblong or long face needs the opposite strategy from a round face. Where round needs length, oblong needs width. Where round wants stretched curls, oblong wants full, wide curls. Every styling choice should work to break the vertical line and add perceived width.
- Best curl style: Large, wide, voluminous curls. The fuller and wider the better. Think big bohemian ringlets rather than stretched waves.
- Ideal braid sweep: Gentle, subtle side part. A very dramatic deep sweep creates a long diagonal line which adds to the perceived length of the face. A softer part keeps the volume more centered and horizontal.
- Curl length: Shoulder-length is your ideal end point. Curls at the collarbone or above. Waist length styles take the eye all the way down and make the face look even longer by comparison.
Tell your braider: I have a long face. I need wide, voluminous curls that end at shoulder length or above. Please keep the side part subtle, not a dramatic deep sweep, and maximize width in the curl pattern.
Avoid: Long, thin, elongated curl styles. Every additional inch in the wrong direction adds perceived length to an already long face. Shoulder length is the absolute maximum for most oblong face shapes.
Diamond Face — Highlight Cheekbones, Balance the Extremes
Diamond is one of the less commonly discussed face shapes but one of the most striking. Wide cheekbones, a narrow forehead, and a narrow jaw create a uniquely angular structure. The goal with lemonade braids with curls is to add softness at the extremes — width at the top and at the chin — while not over-emphasizing those dominant cheekbones.
- Best curl style: Medium curls, neither too tight nor too voluminous. You want a soft texture that adds width at the chin level without creating so much mass that the cheekbones are the first thing every eye goes to.
- Ideal braid sweep: Soft to medium side part. An extreme deep sweep creates maximum volume on one side of the head which can over-emphasize the wide cheekbone area asymmetrically.
- Curl length: Collarbone is ideal. This places the volume point right at chin and jaw level which adds the width your lower face needs.
- Tell your braider: I have a diamond face with wide cheekbones and a narrower forehead and chin. I want a soft side part, medium-volume curls at collarbone length, and I want to avoid a dramatic deep sweep that puts all the volume at my cheekbone level.
Avoid: Very dramatic one-sided volume at the cheekbone level. This is the one configuration that turns a striking feature into an imbalanced one.
The Complete “What to Ask Your Braider” Checklist
Most people go into a braiding appointment with a photo and a prayer. The clients who consistently walk out with the most flattering installs come prepared with specific, informed questions. Here is your complete consultation guide, organized by when to use it.
Before Booking (Phone, DM, or Text)
- Do you specialize in lemonade braids with curly ends specifically, or primarily straight-end lemonade braids?
- Can I see photos of your work on clients with my face shape?
- What braiding hair do you use for the curly ends — kanekalon, water wave bundles, human hair, or crochet curls?
- How long will the full appointment take with curly ends added versus straight ends?
- Should I buy my own hair, and if so, how many packs do I need for medium-length curly lemonade braids?
At the Consultation (In the Chair Before Starting)
- Based on my face shape, where do you recommend the curl drop point — chin, collarbone, chest, or waist?
- How deep should my side part be to flatter my face shape specifically?
- What braid size — thin, medium, or jumbo — do you recommend for my face shape and hair thickness?
- Will you add face-framing pieces or baby hair, and what would work best for my face shape?
- What is your process for sealing or setting the curls to maximize longevity?
Curl Type Glossary: Know What You Are Asking For
One of the most common communication breakdowns between clients and braiders is vocabulary. Here is a quick glossary so you are speaking the same language at your appointment.
Ringlet curls: Tight, defined spiral coils. High definition, high volume per strand. Best for oval and heart faces. Hold shape the longest of all curl types.
Loose waves: Soft, flowing S-curves with gentle movement. Low volume, natural-looking. Best for square and diamond faces. Most natural finish.
Bohemian curls: Full, voluminous, unstructured texture. Creates maximum width and softness. Best for oblong and round faces seeking fullness. The most popular choice for goddess lemonade braids.
Water wave: Compact crimped wave pattern, adds significant texture. Works across all face shapes. Excellent longevity and a glossy finish.
Stretched curls: Elongated S-curl with pulled-out definition. Creates length over volume. Ideal for round faces wanting elongation without bulk.
Butterfly locs end curl: Distressed, loose curl at the end of a braid. Boho, undone aesthetic. Great for casual installs and square or oval faces.
Lemonade Braids With Curls Maintenance by Face Shape
Most maintenance guides treat all lemonade braids the same. But if curly ends change which style you choose based on face shape, they also change how you maintain the style to keep it flattering over time.
Round Face: Prevent Curl Shrinkage
You chose stretched, elongated curls for a reason. If those curls shrink up with moisture, humidity, or sleep compression, you lose the elongation that makes the style work for your face. Refresh with a light water and leave-in conditioner mist, then gently stretch the curls downward while damp. Sleep with a long satin bonnet that does not bunch the ends up.
Oblong Face: Prevent Curl Elongation
You chose wide, full curls that end at shoulder height. The maintenance goal is keeping that volume horizontal rather than letting curls stretch and elongate over time. Use a curl refresher spray and scrunch the curls upward toward the scalp to encourage width. Avoid weighting curls down with heavy oils. A satin scarf wrapped loosely to preserve the curl shape (not flatten it) is your best sleep option.
All Face Shapes: Universal Maintenance Tips
- Sleep with a satin bonnet or on a satin pillowcase every single night — friction is the number one enemy of curly ends.
- Refresh curls with a mix of water and a lightweight leave-in conditioner in a spray bottle every 2 to 3 days.
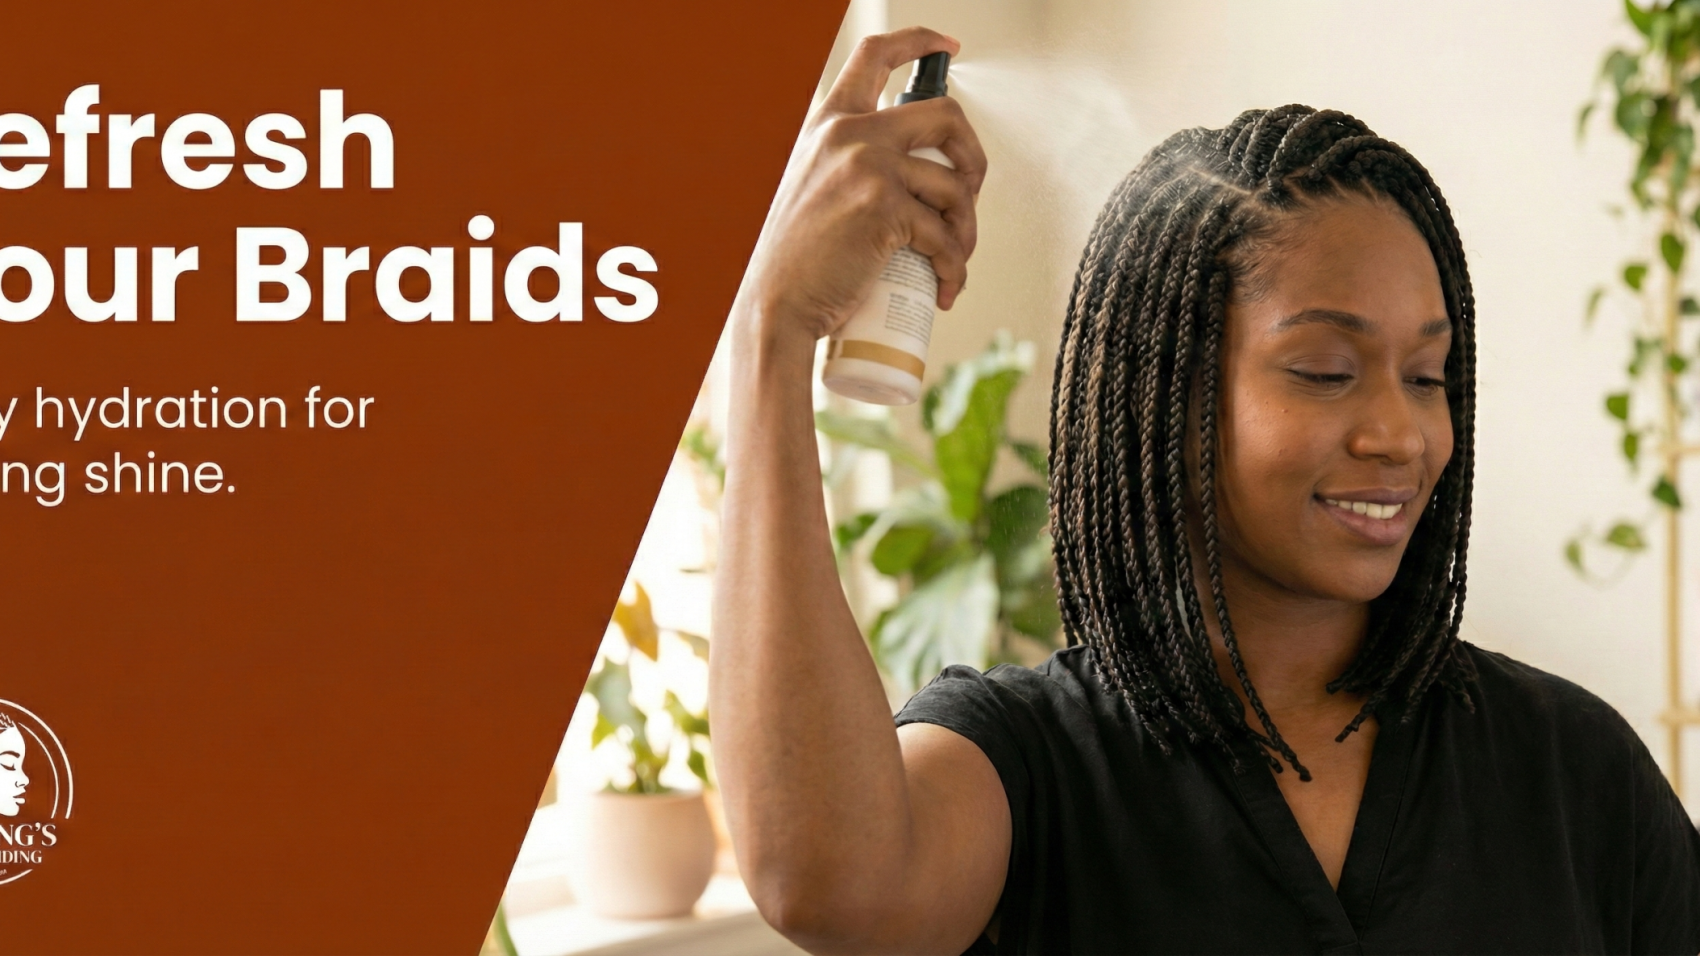
- Keep your scalp moisturized with a braid spray or diluted hair oil applied with a nozzle directly to the parts.
- Avoid over-manipulating the curls daily — finger-combing or pulling causes frizz and unraveling faster than anything.
- Wrap your edges with an edge scarf when working out or in high humidity to preserve the front braids.
Book Your Lemonade Braids With Curls in District Heights, MD
Now that you know exactly which lemonade braids with curls variation works for your face shape and what to communicate to make it happen, the only step left is finding a skilled braider who can execute the vision.
Blessing Hair Braiding specializes in lemonade braids with curls for all face shapes and hair types. Serving clients in District Heights, MD and surrounding areas, our consultation process starts with exactly the kind of face-shape conversation this guide covers — because we believe the right install begins before a single braid is laid.
Our braiders have years of experience in goddess lemonade braids, fulani lemonade variations, and curly-end styles across all face structures. Every client receives a personalized consultation to confirm curl drop point, braid size, and side sweep angle before we begin.
Local Booking Offer
Get Your Lemonade Braids in District Heights
The Offer: Mention this guide when you reach out and receive a complimentary curl consultation before your install.
The Location: We are conveniently located on Old Silver Hill Road in District Heights, MD.
How to Book: Call Blessing Hair Braids at 301-613-6650 to schedule your appointment today.
Frequently Asked Questions
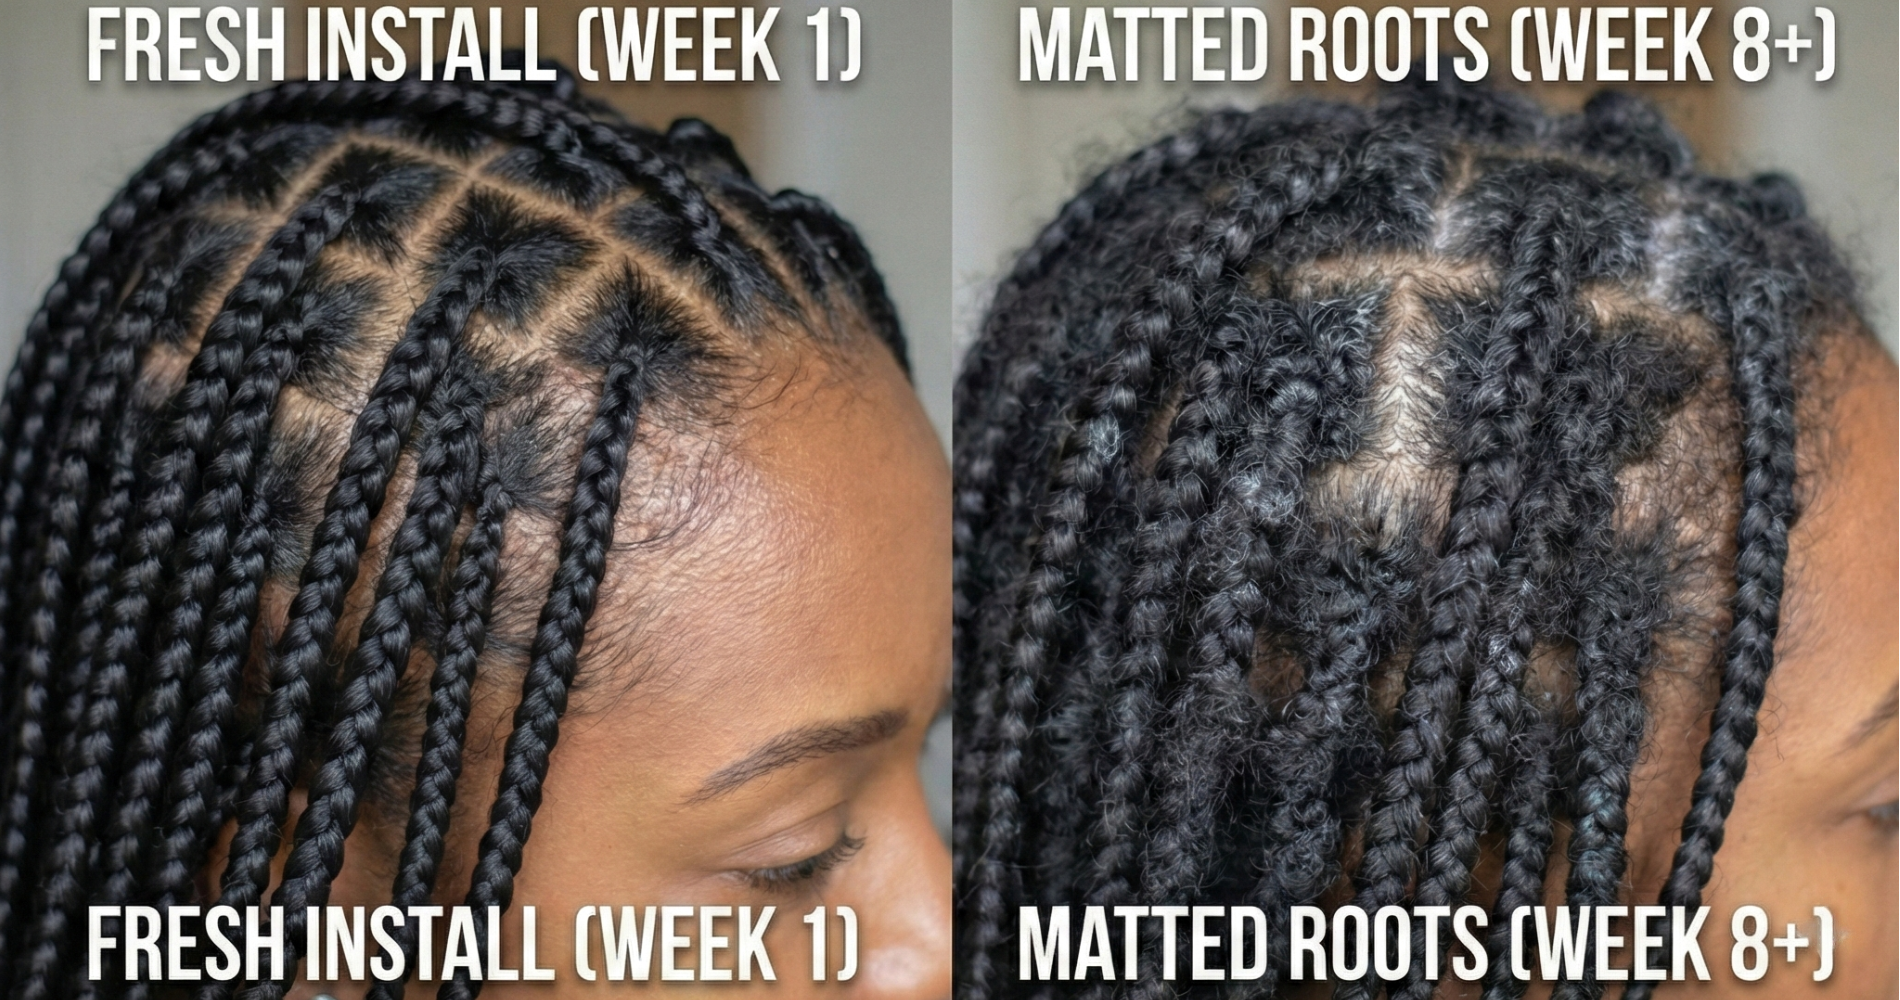
How long do lemonade braids with curls last?
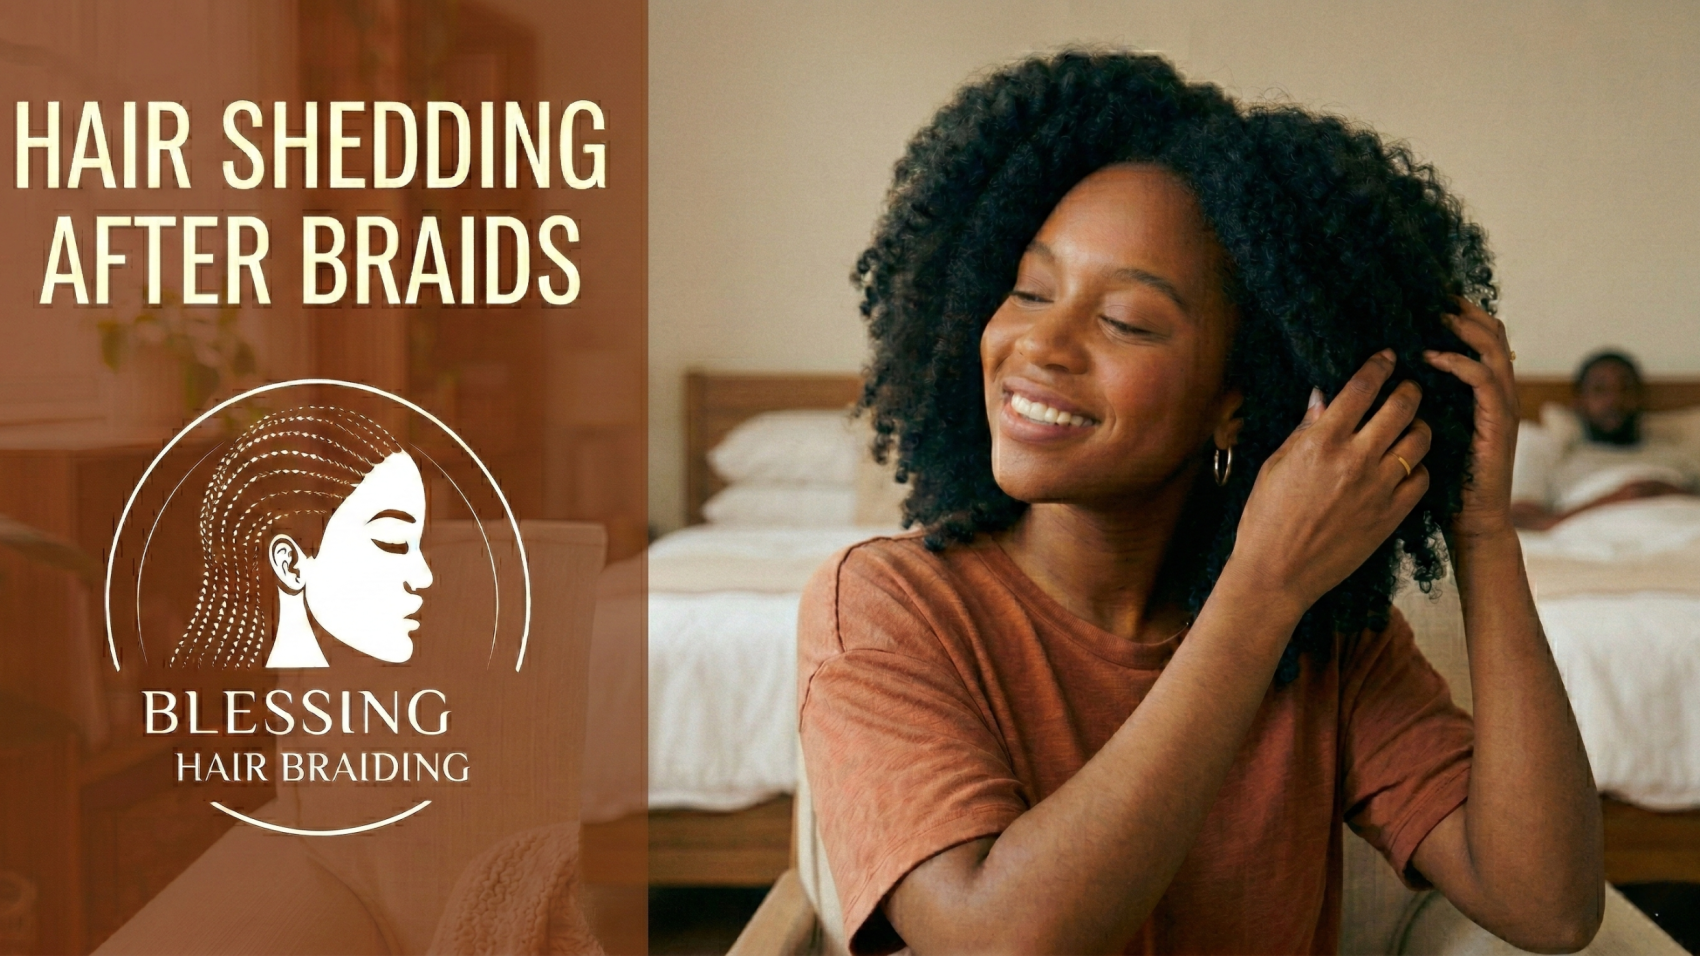
Lemonade braids with curls last 4 to 6 weeks. The braided cornrow portion can last up to 8 weeks, but the curly ends begin to show wear around weeks 4 to 5 depending on your maintenance routine. Synthetic curly hair such as water wave or bohemian bundles degrades faster than human hair extensions but is also significantly more affordable.
Do curly ends last as long as straight ends on lemonade braids?
No, curly ends do not last as long as straight braid ends. Curly extensions are more susceptible to frizz, tangling, and compression from sleep. The trade-off is that the style is significantly more
striking and versatile. To extend the life of your curly ends, refresh them every 2 to 3 days with a light mist of water and leave-in conditioner, and always sleep with a satin bonnet.
What braiding hair is best for lemonade braids with curls?
The best braiding hair for lemonade braids with curls is water wave bundles or Bohemian braiding hair. Water wave offers a compact, defined curl with excellent longevity and a glossy finish. Bohemian hair (often a blend of straight braid hair with loose curly extensions added) creates a fuller, more voluminous look. Human hair braiding extensions last longest and can be restyled with heat, but are the most expensive option.
Can I wash my hair with lemonade braids with curls installed?
Yes, you can wash your hair with lemonade braids with curls installed. Dilute a sulfate-free shampoo with water in a spray bottle and apply it directly to your scalp and parts. Gently massage with your fingertips rather than rubbing across the surface of the braids. Rinse by tilting your head back rather than forward to keep braids from tangling. Squeeze — never wring — the curly ends dry with a microfiber towel, then allow to air dry completely before covering.
Which face shape is lemonade braids with curls most flattering on?
Lemonade braids with curls are flattering on every face shape when styled correctly for that specific structure. Oval faces have the most flexibility. Round and oblong faces require the most specific curl length choices. Heart and square faces benefit most from intentional curl volume placement. The key is not which face shape the style suits best — it is getting the right variation for your specific face, which is exactly what this guide is designed to help you do.
What is the difference between goddess lemonade braids and regular lemonade braids with curls?
Goddess lemonade braids have curly extension hair woven throughout the braid length, while regular lemonade braids with curls feature curly hair only at the ends. Regular lemonade braids with curls typically feature fully braided lengths with curly or wavy hair attached only at the ends. Goddess lemonade braids have a more romantic, undone texture throughout the braid, while regular curly ends create a cleaner braid body with a textured finish.
What face shape are lemonade braids best for?
Lemonade braids suit all face shapes and are not exclusive to any one face structure. The side swept structure of lemonade braids naturally benefits oval and heart faces due to their balanced or forehead-prominent proportions. However, round, square, oblong, and diamond faces all look stunning in lemonade braids with curls when the correct braid size, curl type, and curl drop point are chosen. The face shape guide above gives specific recommendations for each structure.
How much does it cost to get lemonade braids with curls?
Lemonade braids with curls typically cost between $150 and $300 at a professional salon. Adding curly ends rather than straight ends usually adds $20 to $50 to the base price due to the additional hair and time required. Human hair extensions will push the cost higher, sometimes to $350 or more. Prices vary significantly by city and salon, so always confirm pricing including the cost of hair before booking.